Fix blurry text on your high DPI monitor in Windows. Learn to adjust display scaling, ClearType settings, and application compatibility for sharp visuals.
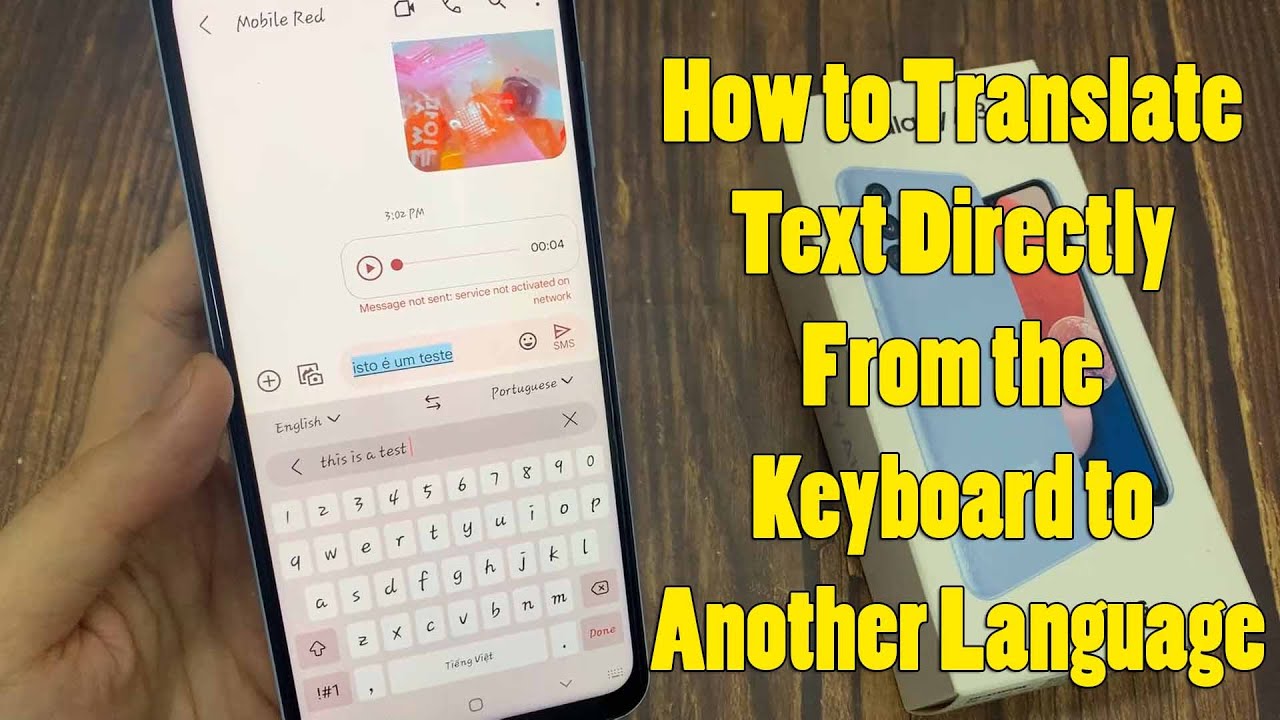
Break language barriers with real-time translation using Samsung Keyboard. Learn to set up and use the in-built translate feature for seamless conversations.
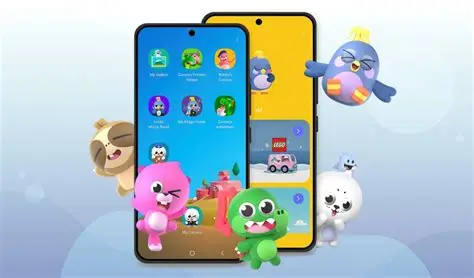
Set up Samsung Kids parental controls to manage screen time, approve apps, and monitor usage for a safe digital environment on your Samsung phone or tablet.
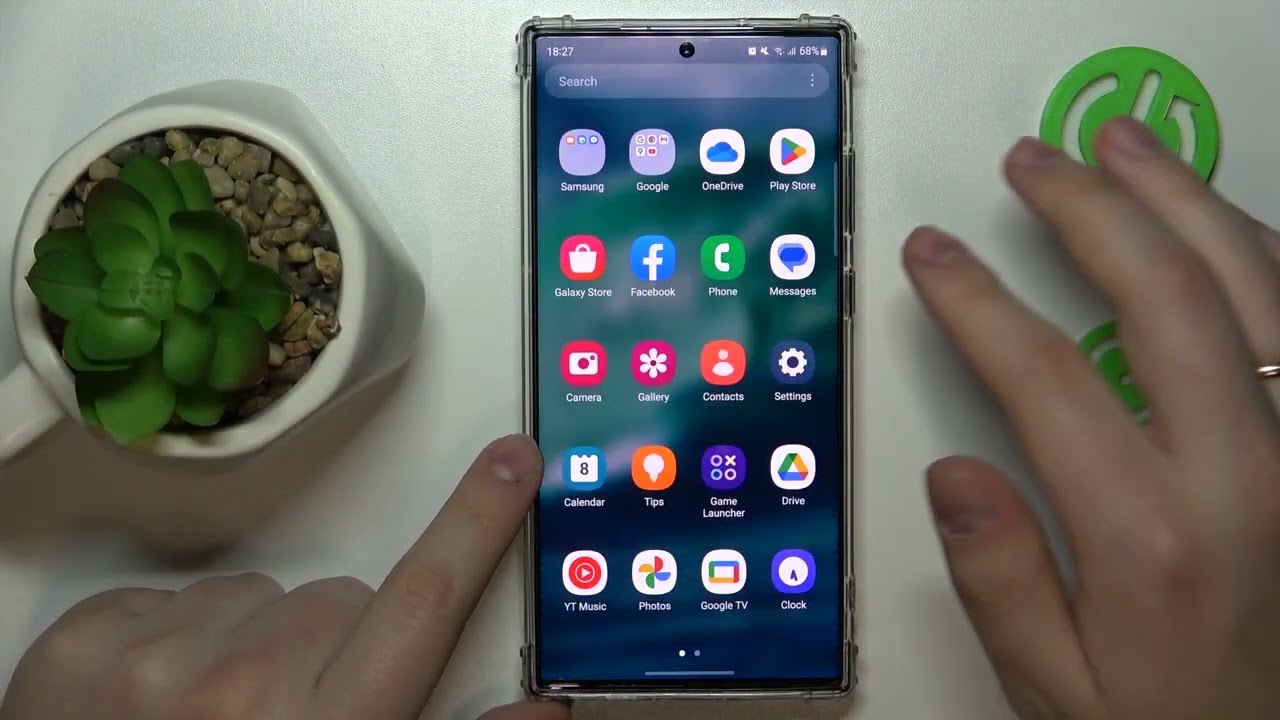
Optimize your Samsung phone's gaming FPS without third-party apps! Learn to use built-in tools like Game Booster, adjust display settings, and clear cache for smoother gameplay.