What are You Looking for?
Search
Business
Crypto
Editorial
Gaming
Tech
Tech
10 posts
By
Liam Smith
April 16, 2025
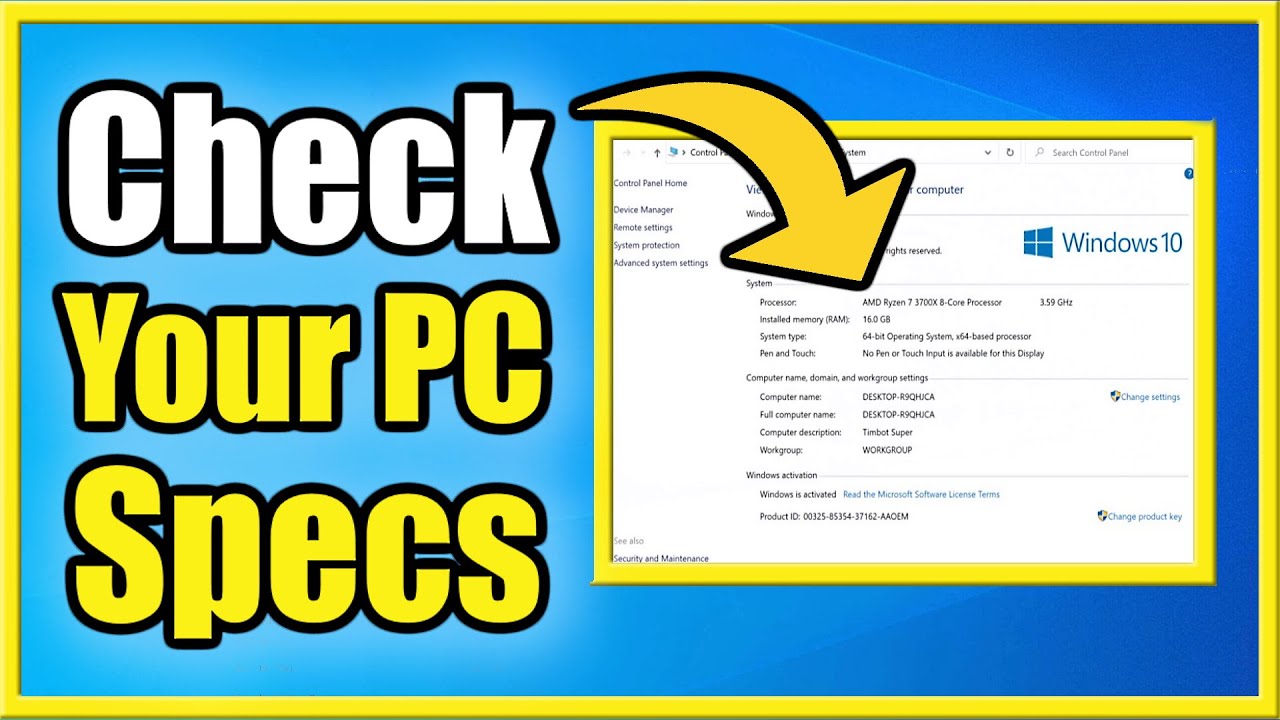
How to Check Your PC Specs in Windows 10
Tech
By
Liam Smith
March 3, 2025
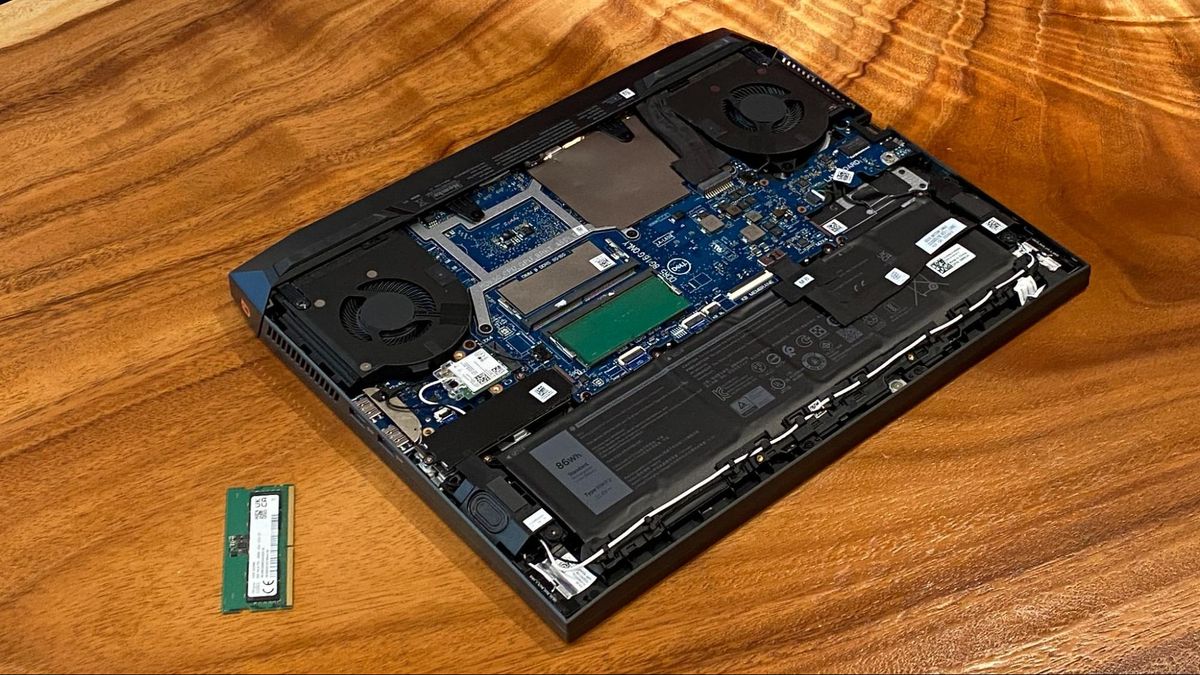
How to Add RAM to a Laptop
Tech
By
Benjamin Noah
June 13, 2022
How to change your Apple ID profile picture?
Tech
By
Liam Smith
March 31, 2022
How to Unlock the Bootloader in Poco M2 Pro?
Tech
By
Liam Smith
March 22, 2022
How to Get the Android 11 Power Menu in Android 12?
Tech
By
Benjamin Noah
December 15, 2021
Best Video Converters of 2021
Tech
By
Oliver Johnson
December 15, 2021
Best Remote Working Technology of 2021
Tech
By
Benjamin Noah
December 15, 2021
Best Time Tracking and Payroll Software
Tech
By
Oliver Johnson
December 15, 2021
Top Cryptocurrency Exchange Apps
Tech
By
Benjamin Noah
December 15, 2021
Best PWA (Progressive Web App) Games
Tech