Experiencing phantom touches on your Samsung Galaxy? This guide provides step-by-step solutions, from simple cleaning to advanced troubleshooting, to resolve the "ghost touch" issue.
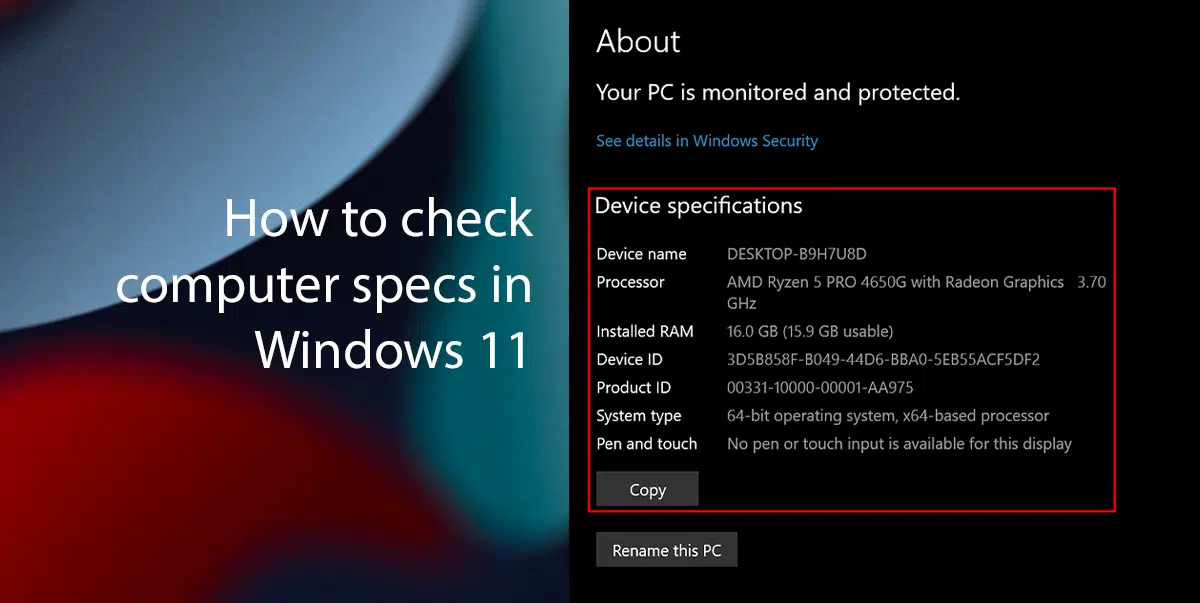
Learn how to find system specs on your Windows PC. This guide covers using Settings, System Information, Task Manager, DxDiag, and more for detailed hardware data.
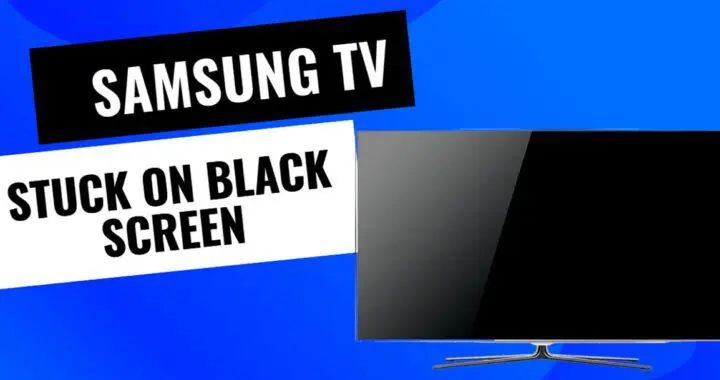
Fix black screen on your Samsung Smart TV with our guide. Troubleshoot power, cables, settings, and firmware for common issues, or know when to seek professional repair.
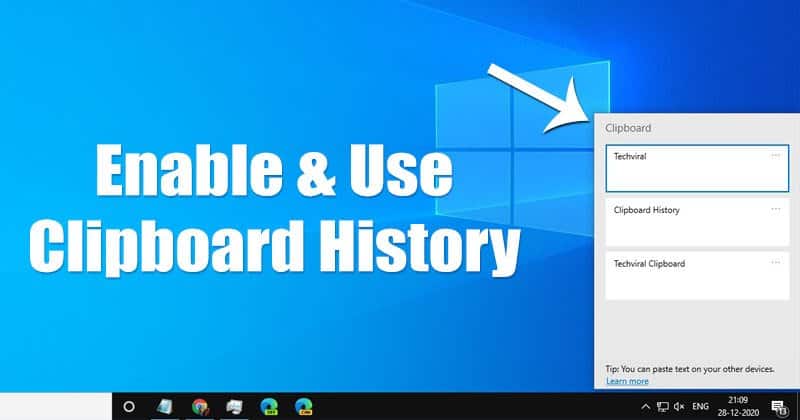
nable and use Clipboard History in Windows! Learn how to access, paste from, pin items, and even sync your clipboard across devices for enhanced productivity.
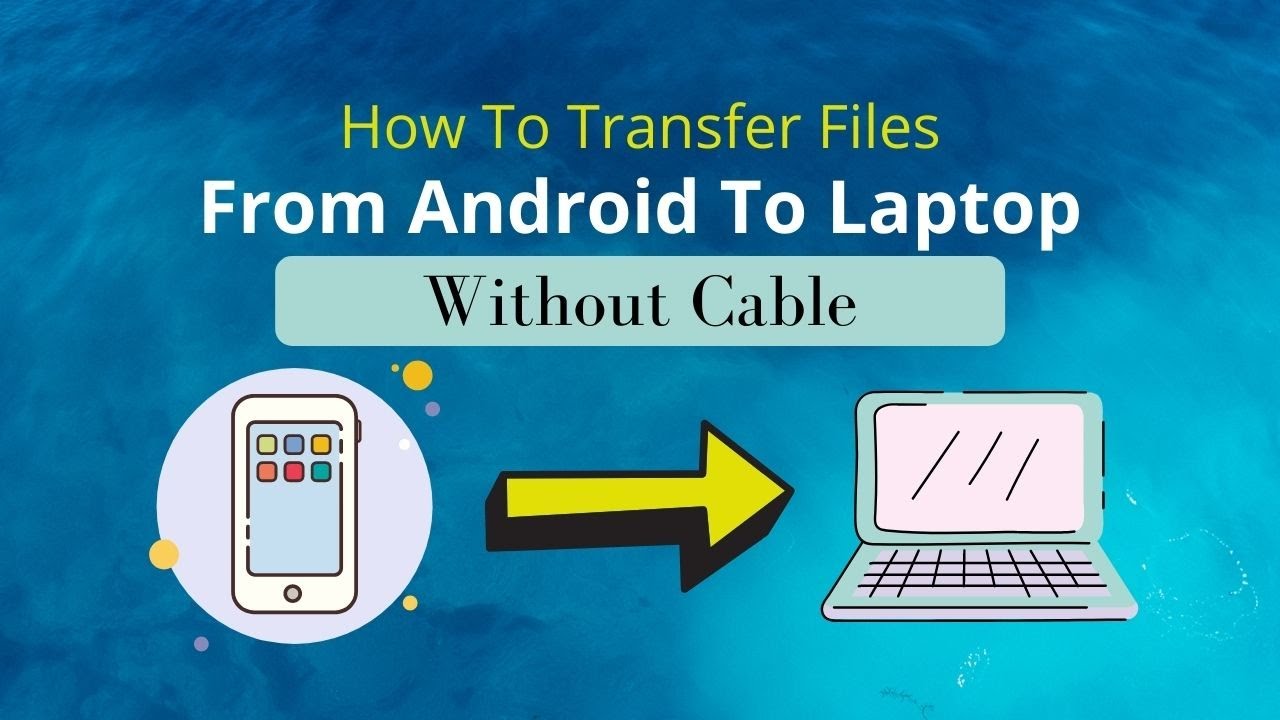
Transfer files wirelessly from your Samsung phone to laptop! Discover easy methods using Quick Share, Phone Link, cloud services, Bluetooth, and web-based apps.
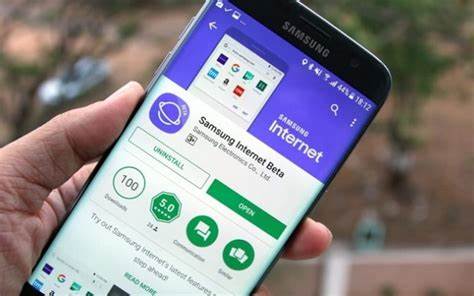
Learn how to block websites on Samsung Internet Browser. This guide covers using content blockers, Google Family Link, Private DNS, and more for effective web filtering.
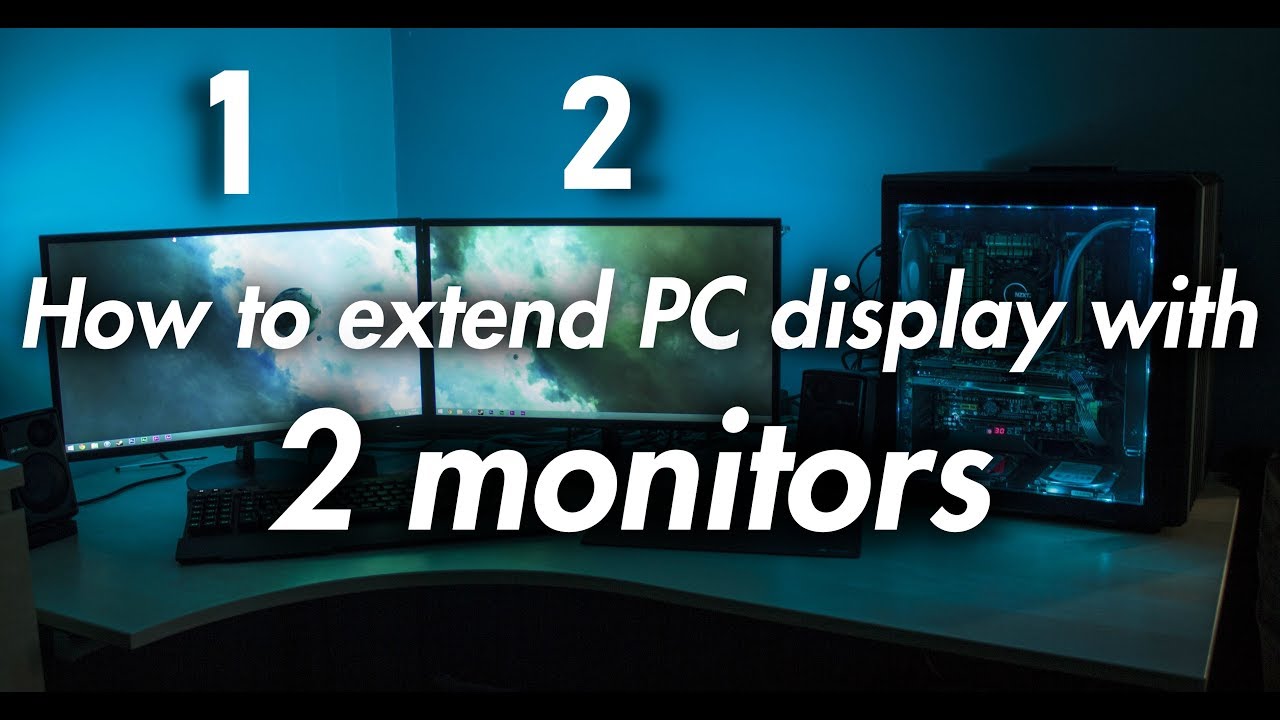
Master using a second monitor with extended display for enhanced productivity on Windows and macOS. This guide covers setup, optimization, and troubleshooting.