Liam earned a B.A. in English with a minor in Human-Computer Interaction from the University of Washington and has 9 years of product-testing experience. He specializes in smartphones, laptops, monitors, and audio, with a focus on color accuracy, battery analytics, and thermal behavior under sustained loads. His work has been cited by display calibration communities, and he contributed to a multi-site testing protocol adopted by several outlets. Liam spends weekends on landscape photography and mechanical keyboards. He manages the test bench, trains contributors on repeatable measurements, and signs off on every scored review.
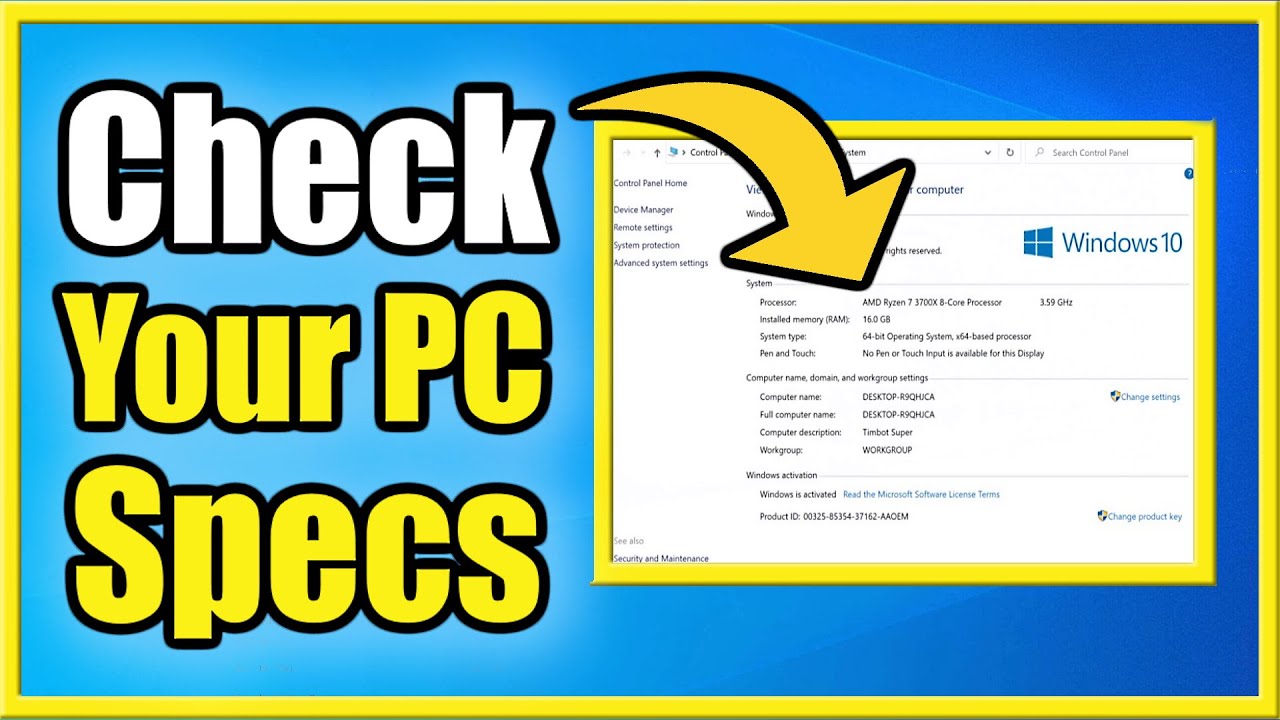
Checking your computer's specifications in Windows 10 in April 2025 is a straightforward process that provides valuable information about your system's hardware and software. By following these steps, you can easily access the details you need for various purposes.
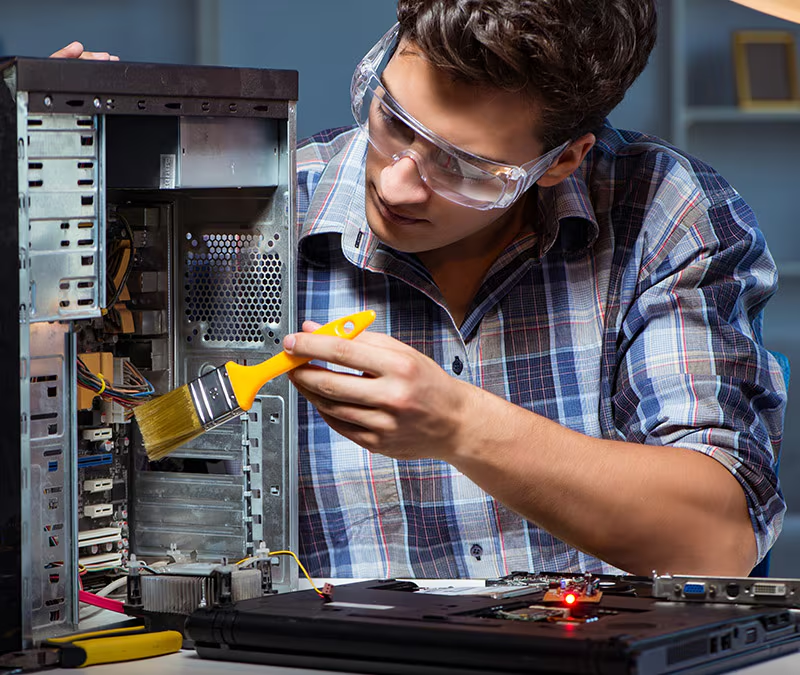
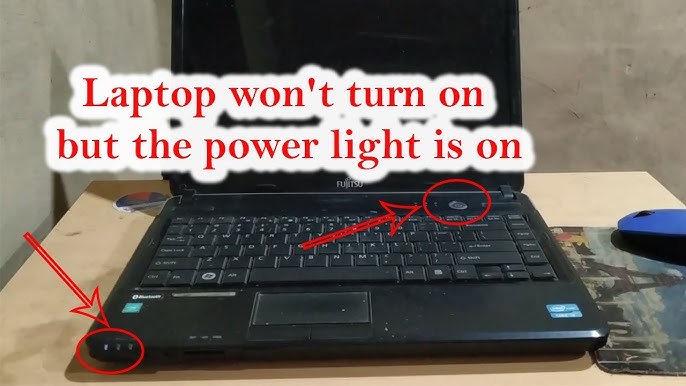
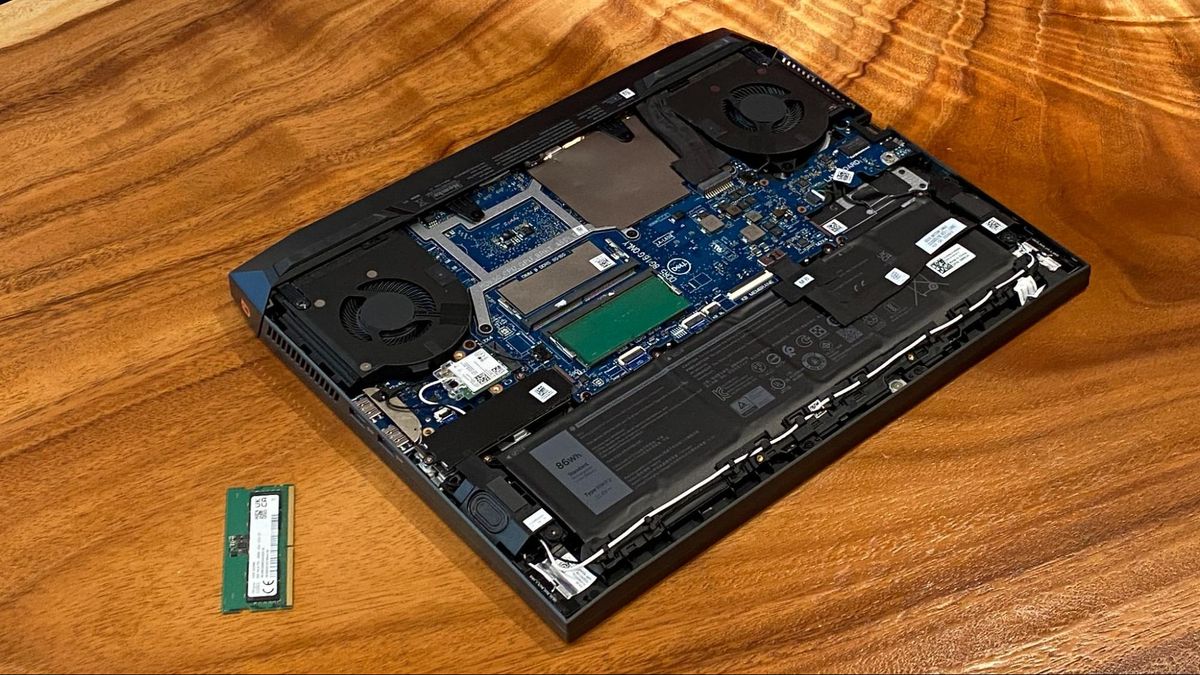
Safely cleaning your computer's internal components in April 2025 is a vital maintenance task that can improve performance and extend the lifespan of your machine. By following these steps carefully and prioritizing safety, you can effectively remove dust buildup and keep your computer running smoothly.