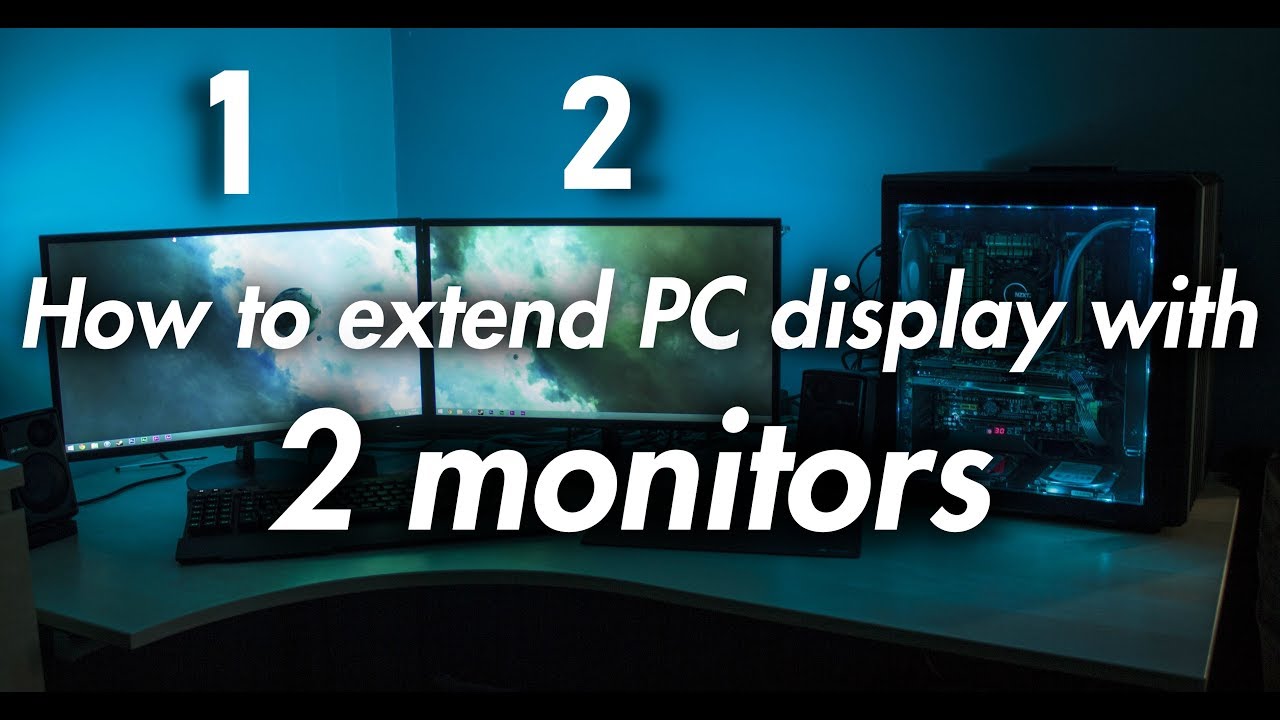
Adding a second monitor to your computer setup is one of the most effective ways to boost your productivity and streamline your workflow. An extended display allows you to spread your applications, documents, and creative projects across multiple screens, giving you a vastly larger workspace than a single monitor provides. This comprehensive guide will walk you through the entire process of setting up and optimizing your dual-monitor configuration, covering both Windows and macOS operating systems.
The Benefits of an Extended Display
- Effortless Multitasking: Keep email, research, and video calls open simultaneously without switching tabs.
- Increased Productivity: Reduce time spent toggling between apps.
- Enhanced Organization: Manage windows and drag files between screens easily.
- Immersive Experiences: Ideal for creatives, gamers, and developers.
- Better Data Comparison: View two documents side-by-side comfortably.
Step-by-Step Guide: Setting Up Your Second Monitor
Step 1: Verify Hardware Compatibility
- Computer Output Ports: HDMI, DisplayPort, DVI, VGA, USB-C/Thunderbolt.
- Monitor Input Ports: Ensure compatibility with your video output.
- Graphics Capability: Confirm your GPU supports multiple displays.
- Cables: Use the correct type and length.
Step 2: Connect the Monitor
- Power off your PC.
- Connect video cable to PC and monitor.
- Plug in and power on the monitor.
- Boot your computer.
Step 3: Configure in Windows
- Right-click desktop > Display settings.
- Click Detect if the monitor isn’t recognized.
- Arrange displays to match physical layout.
- Under “Multiple displays,” select Extend these displays.
- Set your main display and adjust resolution/orientation.
- Click Keep changes to confirm.
Step 4: Configure in macOS
- Connect your monitor to Mac.
- Go to Apple Menu > System Settings/Preferences > Displays.
- Use the Arrangement tab to align displays.
- Uncheck Mirror Displays.
- Set your primary display by moving the white menu bar.
- Adjust resolution as needed.
Optimizing Your Extended Display Setup
- Snap Assist (Windows): Snap windows by dragging or using Win + Arrow keys.
- Virtual Desktops/Spaces: Organize tasks using Task View (Windows) or Mission Control (macOS).
- Ergonomics: Keep monitor tops at eye level. Use monitor arms if needed.
- Cable Management: Use ties or sleeves.
- Color Calibration: Use tools for color accuracy.
- Personalize Backgrounds: Set individual or panoramic wallpapers.
Troubleshooting Common Issues
- No Signal: Check cables, input settings, drivers, and try rebooting.
- Wrong Display Settings: Adjust resolution, scaling, and refresh rate.
- Cursor Navigation Issues: Rearrange monitor layout in settings.
- Apps Opening on Wrong Screen: Drag and close on the desired screen.
- Performance Lag: Close background apps or update drivers.
Conclusion
Embracing a dual-monitor extended display setup is a simple yet powerful upgrade. It offers enhanced productivity, better organization, and a more comfortable workspace. Follow this guide to set up your monitors correctly and enjoy the full benefits of an expanded digital environment.