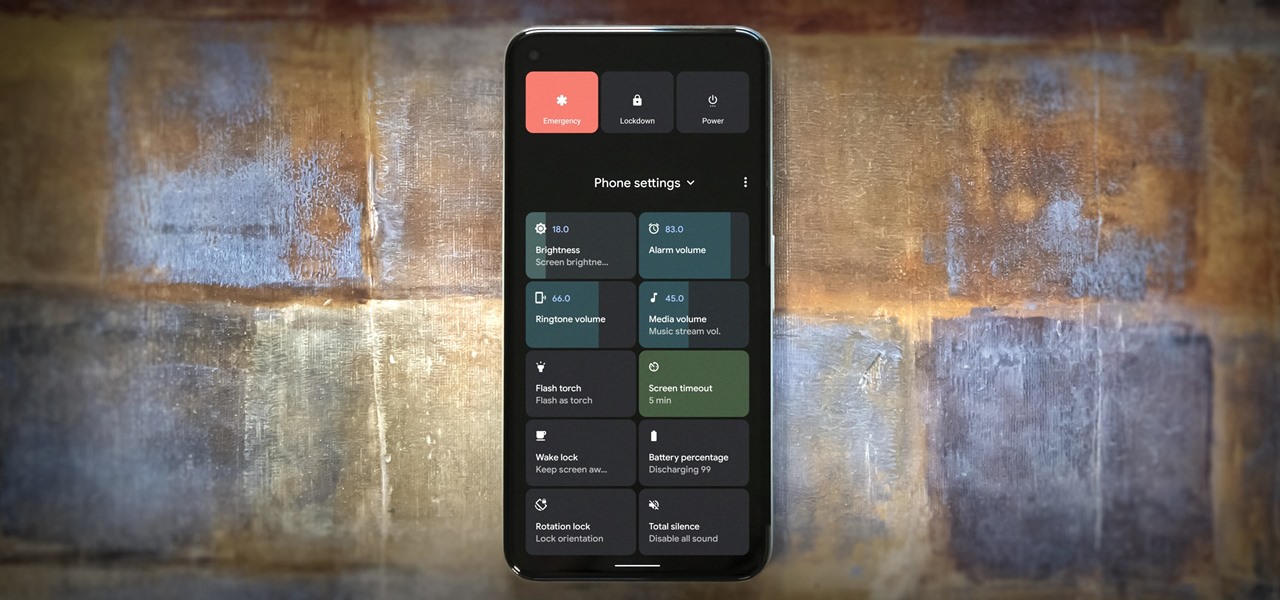
22 Mar, 22 ByLiam SmithMarch 22, 2022How to Get the Android 11 Power Menu in Android 12? Introducing the Classic Power Menu to Your Android 12: The unmatched feature of Android 11 is just a…Tech
17 Mar, 22 ByLiam SmithMarch 17, 2022Best Student Loans Do you want to pursue your higher studies, but your financial status acts as a barrier? That’s where…Business
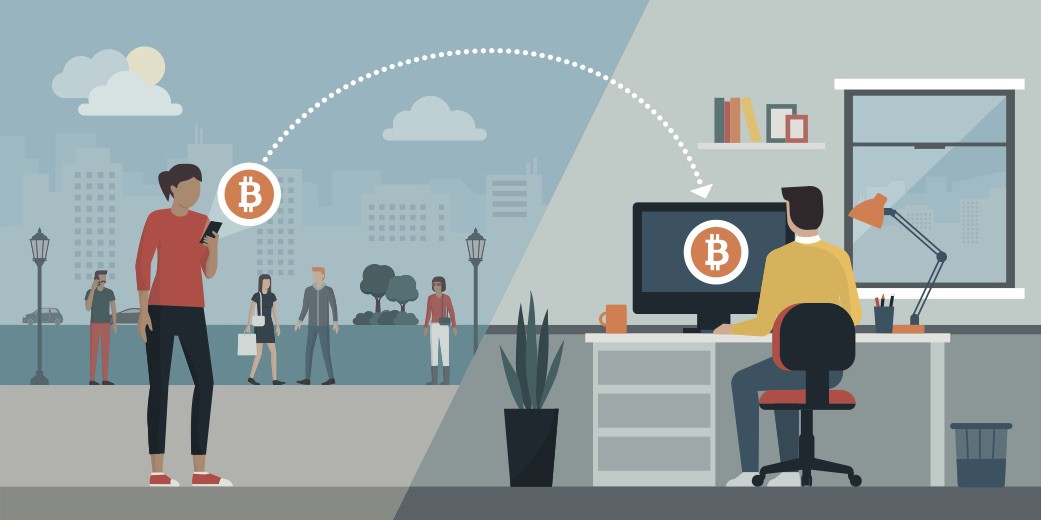
22 Feb, 22 ByOliver JohnsonFebruary 22, 2022An Informative Guide on Transferring Bitcoin from One Wallet to Another Assuming you have Bitcoin in Coinbase, it just finds a couple of basic ways to send it to…Crypto
15 Dec, 21 ByBenjamin NoahDecember 15, 2021Best Video Converters of 2021 Video converters are essential to deal with the processing of videos in their raw file format. Video converting…Tech
15 Dec, 21 ByOliver JohnsonDecember 15, 2021Best Remote Working Technology of 2021 During the lockdown, both people and the organizations tried hard to keep themselves going. Technology served a huge…Tech
15 Dec, 21 ByBenjamin NoahDecember 15, 2021Best Time Tracking and Payroll Software Time tracking and payroll software is a great time saver for small businesses. The best time tracking software…Tech
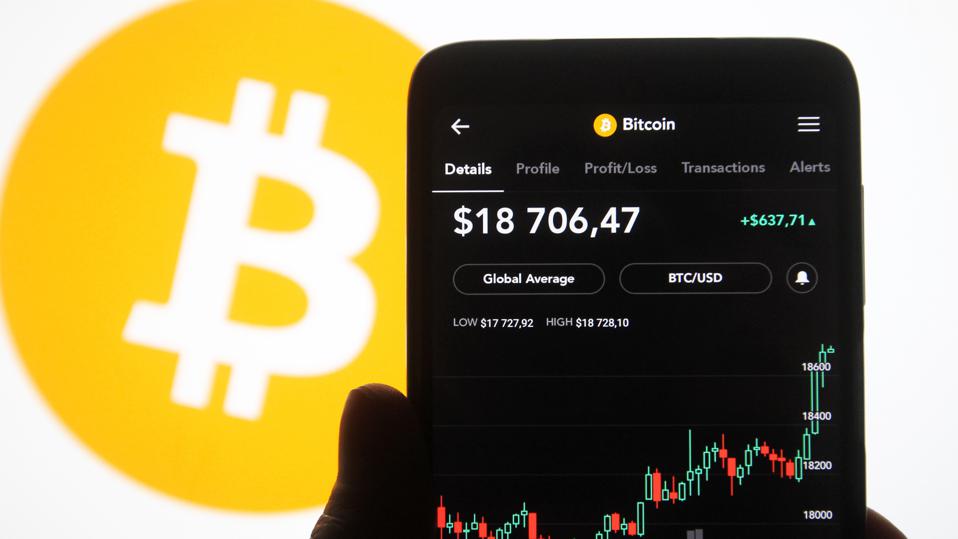
15 Dec, 21 ByOliver JohnsonDecember 15, 2021Top Cryptocurrency Exchange Apps Cryptocurrency is a digital currency maintained using cryptography by a decentralized system instead of being handled by a…Tech
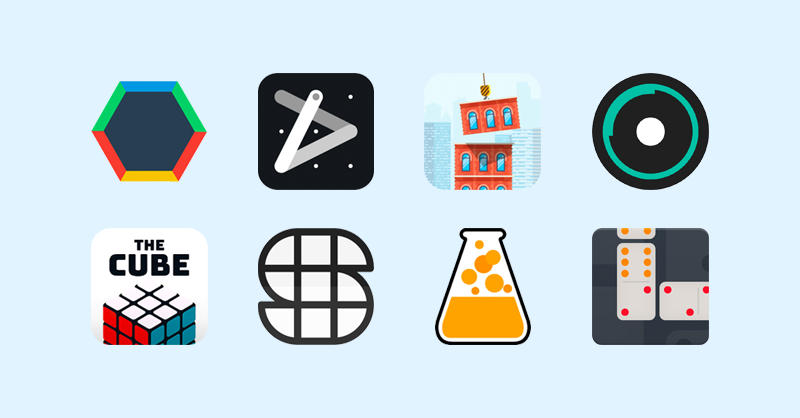
15 Dec, 21 ByBenjamin NoahDecember 15, 2021Best PWA (Progressive Web App) Games The term PWA or Progressive Web App was first presented by Google in 2015. For some time, Progressive…Tech