Sometimes, your Windows 10 or Windows 11 computer might encounter persistent issues that slow it down or cause errors. While a complete clean installation can resolve these problems, it also means wiping out all your personal files. Fortunately, in April 2025, Windows offers a built-in feature to reset your operating system without losing your personal data, giving you a fresh start while preserving your important files. I’ve guided many users through this process, and this guide will walk you through the step-by-step methods to reset your Windows OS without the fear of losing your precious data.
Important Note: While the “Keep my files” option is designed to preserve your personal data, unexpected issues can sometimes occur. Therefore, it is always recommended to create a backup of your important data to an external hard drive or cloud storage before proceeding. Think of it as an extra safety net for your valuable files.
Step 1: Accessing the “Reset this PC” Feature (Your Gateway to a Fresh Start)
Both Windows 10 and Windows 11 offer the “Reset this PC” feature, which allows you to reinstall Windows while keeping your personal files.
On Windows 10 (April 2025):
- Open Settings: Click on the Start Menu (Windows icon in the bottom-left corner of your screen) and then click on the Settings icon (gear icon).
- Go to Update & Security: Click on “Update & Security.”
- Click on Recovery: In the left-hand menu, click on “Recovery.”
- Click “Get started” Under “Reset this PC”: You’ll see a section titled “Reset this PC.” Click the “Get started” button.
On Windows 11 (April 2025):
- Open Settings: Press the Windows key + I to open the Settings app.
- Click on “System”: In the left-hand menu, click on “System.”
- Click on “Recovery”: On the right-hand side, click on “Recovery.”
- Click “Reset PC”: Under the “Recovery options” section, you’ll see a “Reset PC” button. Click on it.
Step 2: Choosing the “Keep my files” Option (Preserving Your Personal Data)
This is the crucial step to ensure your personal files remain untouched during the reset process.
- Select “Keep my files”: You’ll be presented with two options: “Keep my files” and “Remove everything.” **Select “Keep my files.” This option will remove apps and settings, but it will retain your personal files, documents, photos, and videos.
Step 3: Understanding What Will Be Removed (Apps and Settings)
Windows will inform you about what will be removed during the reset process.
- Review the Information: You’ll see a screen indicating that your apps will be removed and settings will be reset, but your personal files will be kept. Click “Next” to proceed.
Step 4: Additional Options and Warnings (Final Checks)
Windows might present you with additional options or warnings before starting the reset.
- App Removal List (If Applicable): You might see a list of apps that will be removed. Take note of these, as you’ll need to reinstall them after the reset. Click “Next.”
- Final Warning: You might see a final warning that you won’t be able to go back to your previous version of Windows (if you recently upgraded). Click “Next” if you’re sure you want to proceed.
Step 5: Initiating the Reset Process (The Point of No Return – Almost!)
You’re almost ready to start the reset.
- Click “Reset”: You’ll see a summary of what will happen. Click the “Reset” button to begin the reinstallation process.
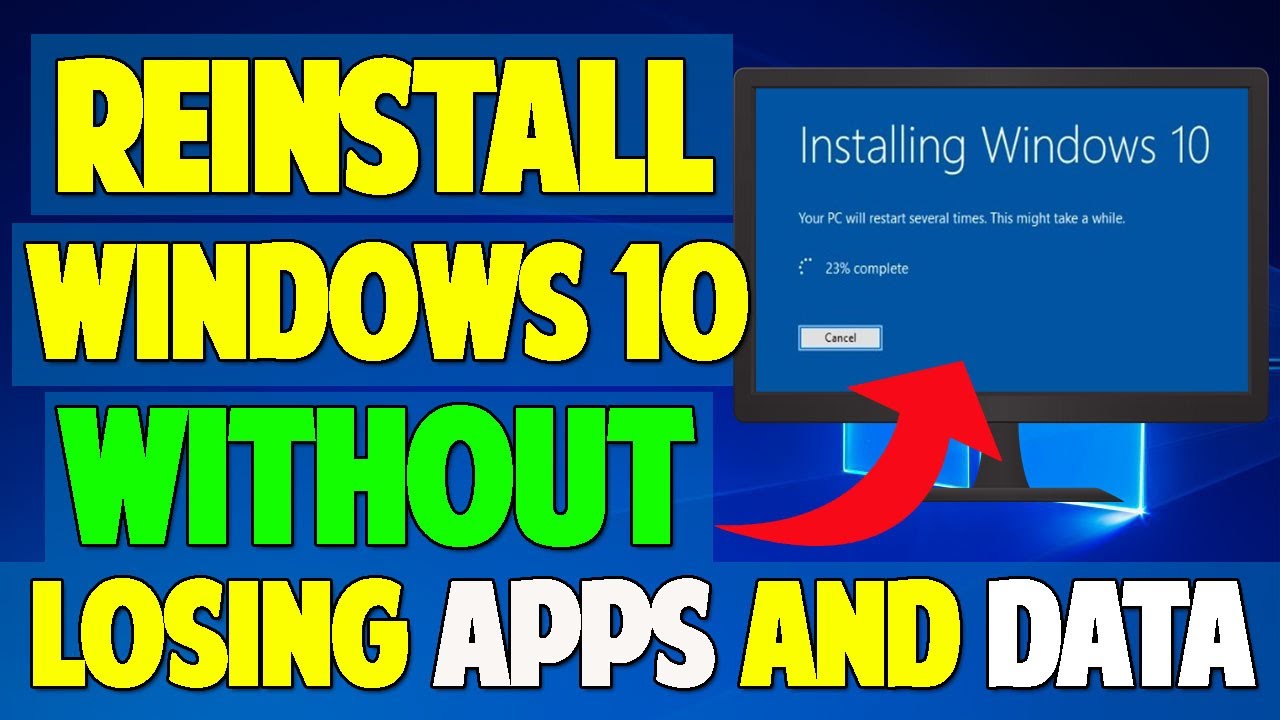
Step 6: Waiting for the Reinstallation to Complete (The Refresh)
Your computer will now restart and begin the process of reinstalling Windows while keeping your personal files. This might take a significant amount of time, so be patient and ensure your laptop is plugged into a power source. Your computer will likely restart several times during this process.
Step 7: Completing the Initial Setup (Back to Basics)
Once the reinstallation is complete, your computer will boot up as if it’s brand new. You’ll need to go through the initial Windows setup process, such as choosing your language, keyboard layout, and connecting to Wi-Fi.
Step 8: Signing In and Finishing Up (Your Familiar Environment)
Sign in to your user account. Your personal files should still be in their original locations. You’ll need to reinstall any applications that were removed during the reset process.
My Personal Insights on Resetting Windows Without Losing Files
I’ve found that using the “Reset this PC” with the “Keep my files” option is the easiest and most user-friendly way to refresh your Windows installation without losing your data for most common scenarios. It’s a great way to resolve persistent software issues and improve performance without the hassle of a full clean installation and data restoration. For users in Delhi, India, where internet data might be a consideration, this method can be preferable as it avoids large downloads associated with a completely fresh installation. Remember, while this method aims to keep your files safe, having a backup is always a smart practice.