Liam earned a B.A. in English with a minor in Human-Computer Interaction from the University of Washington and has 9 years of product-testing experience. He specializes in smartphones, laptops, monitors, and audio, with a focus on color accuracy, battery analytics, and thermal behavior under sustained loads. His work has been cited by display calibration communities, and he contributed to a multi-site testing protocol adopted by several outlets. Liam spends weekends on landscape photography and mechanical keyboards. He manages the test bench, trains contributors on repeatable measurements, and signs off on every scored review.
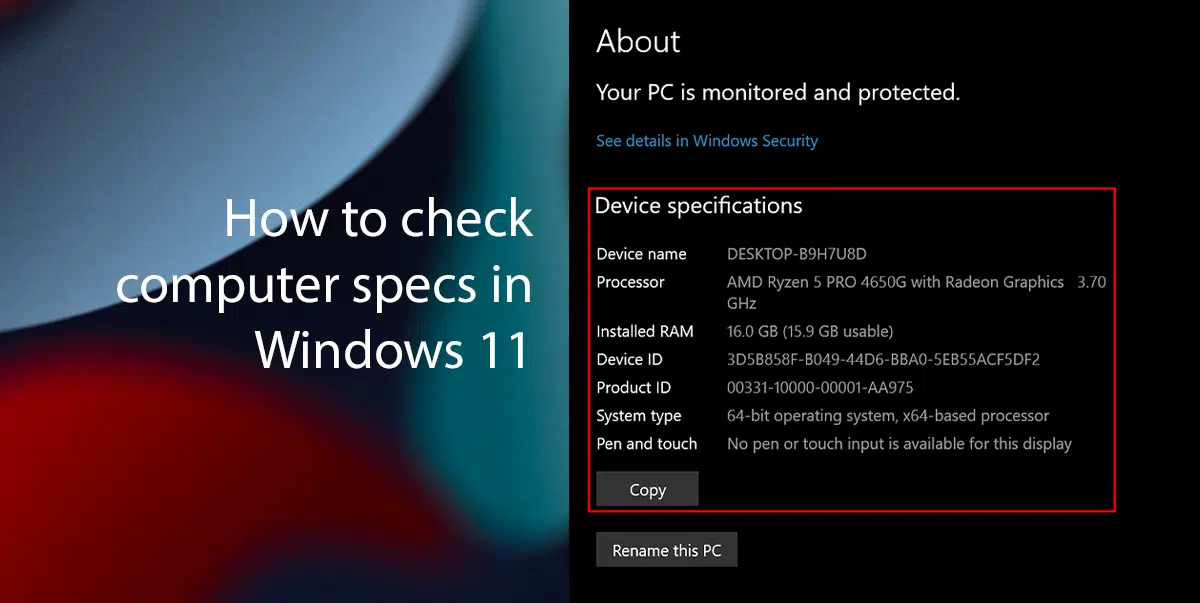
Learn how to find system specs on your Windows PC. This guide covers using Settings, System Information, Task Manager, DxDiag, and more for detailed hardware data.
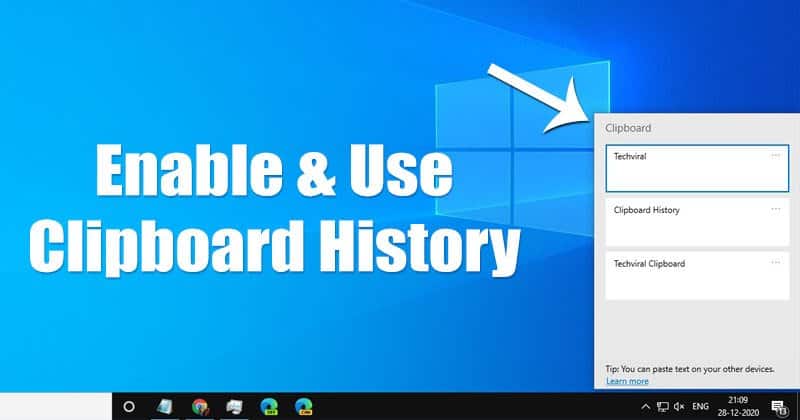
nable and use Clipboard History in Windows! Learn how to access, paste from, pin items, and even sync your clipboard across devices for enhanced productivity.
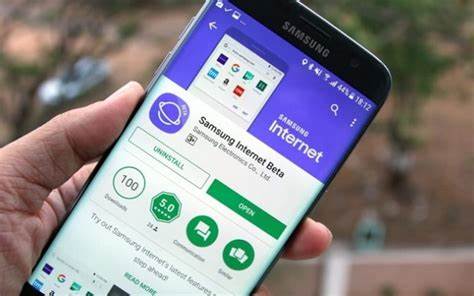
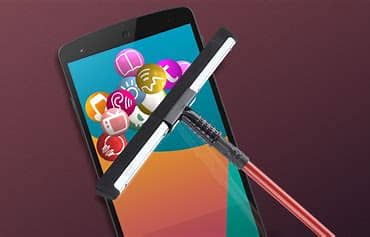
Learn how to block websites on Samsung Internet Browser. This guide covers using content blockers, Google Family Link, Private DNS, and more for effective web filtering.
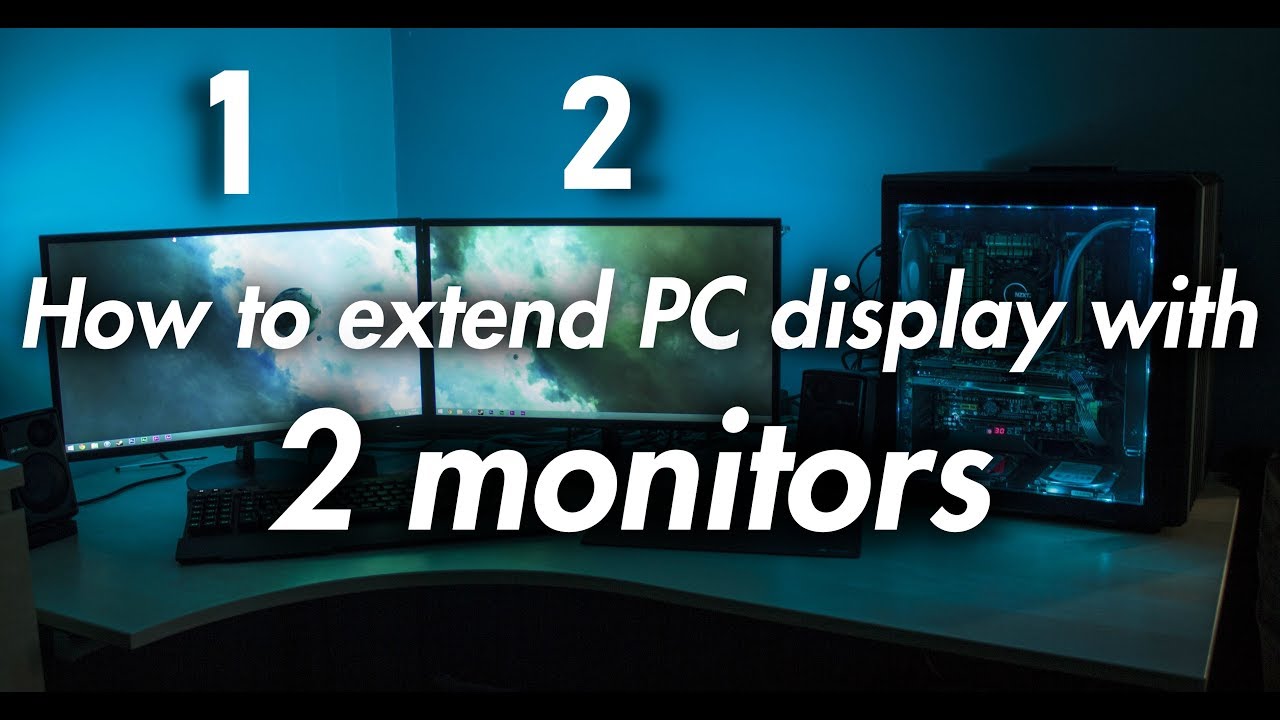
Master using a second monitor with extended display for enhanced productivity on Windows and macOS. This guide covers setup, optimization, and troubleshooting.
Learn how to prevent your laptop from overheating during gaming with practical steps, including cleaning, optimizing settings, and using cooling solutions.
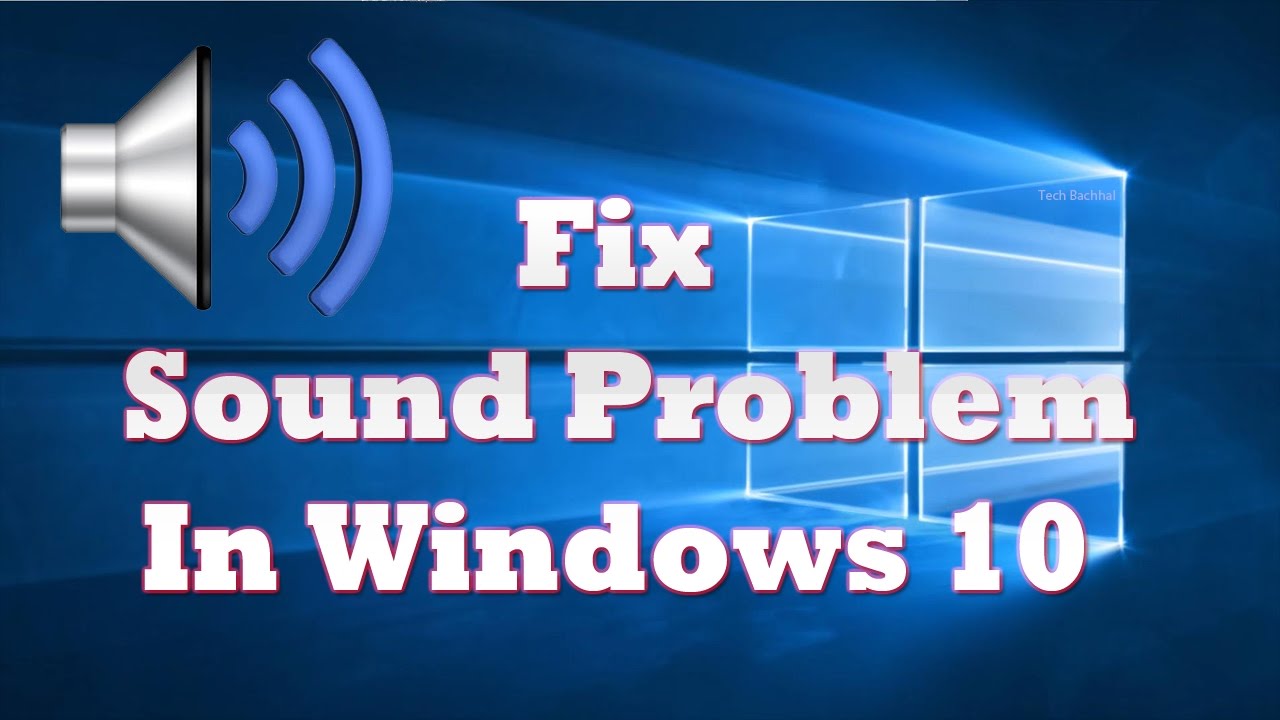
Sound not working after a Windows update? Our step-by-step guide shows you how to fix audio issues by checking drivers, services, and other essential settings.
Learn how to free up space on your Samsung phone without deleting apps. Clear cache, move media, manage downloads, and optimize storage for better performance.
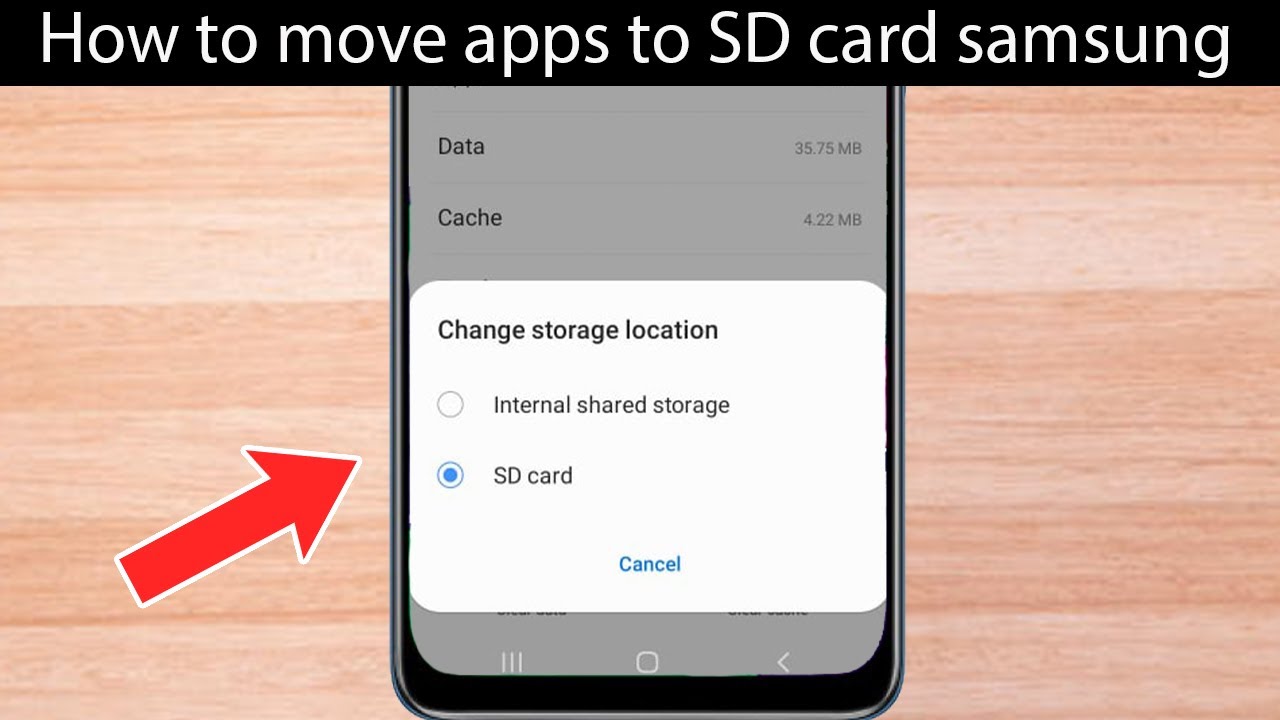
Learn how to move apps to an SD card on Samsung devices. Our guide explains limitations and provides effective alternative methods to free up internal storage on your Galaxy phone.