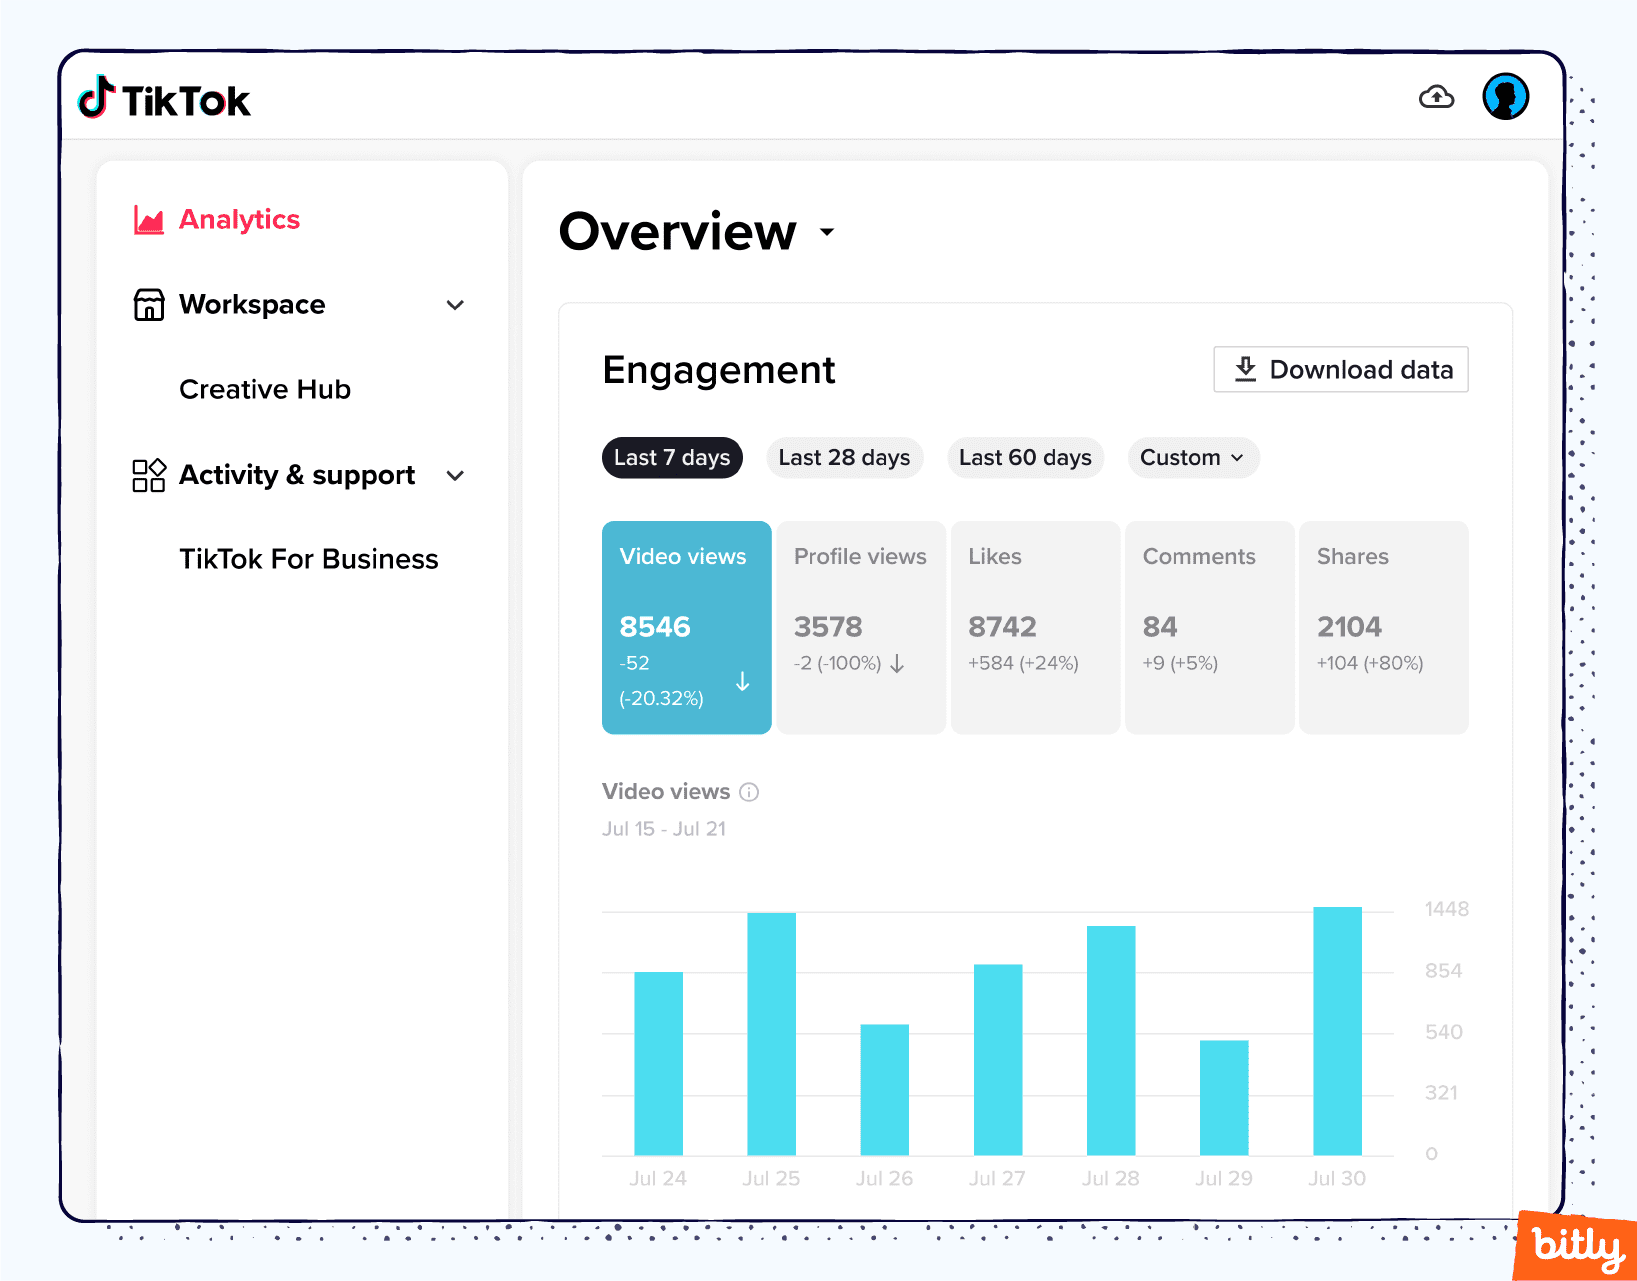
Learn how to grow your TikTok account organically without ads by following this step-by-step guide focusing on content creation, engagement, and strategy.
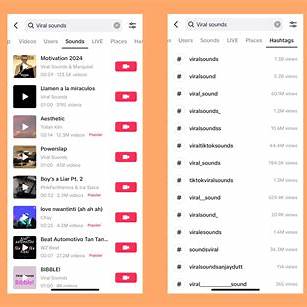
Editing TikTok videos like a pro in April 2025 involves leveraging the app's in-built tools or third-party apps to cut, trim, arrange clips, add text, effects, sounds, and transitions effectively. By focusing on fast pacing, engaging visuals, and syncing to audio, you can create captivating videos that stand out in the feed and attract a wider audience.
Resetting your Windows operating system without losing files in April 2025 is a viable solution for resolving persistent system problems. By carefully following these steps, you can achieve a cleaner, more stable Windows installation while keeping your important files safe and sound.